I’ve recently picked up an old Netgear ReadyNAS 1100, which I have decided to adapt to the needs of 12CP. In this post I am going to document the first steps of this conversion – it seems I have plenty of time now for this project. Assuming that the parts I have ordered will ever be delivered…
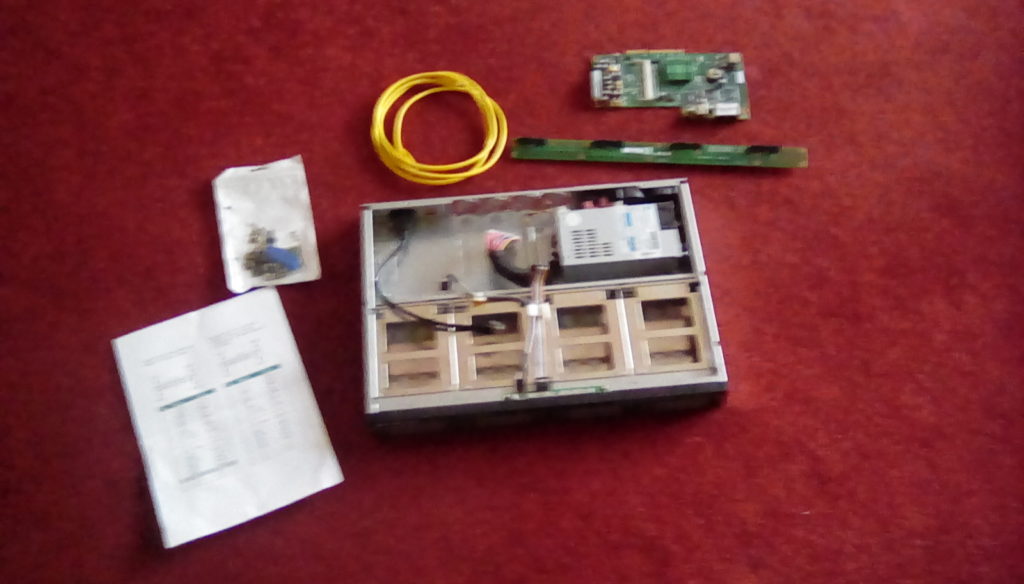
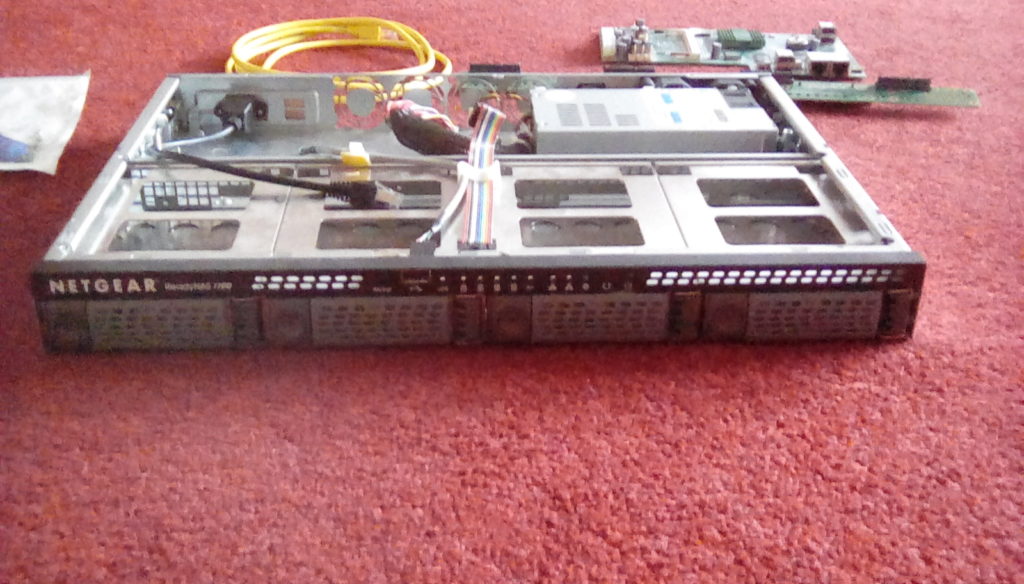
Of course, I could have used the NAS as is, but that’s too easy! And too noisy. That thing comes with seven internal fans and sounds like a jet engine taking off. Even when stored away in my networking cabinet under the staircase it would have been far too noisy and the 12CP family council (WAF again!) did not approve. So instead I emptied out the device and decided to start from scratch. I’ve now ordered a ROCKPro64, which in the future will power the NAS. Thanks to its low-power ARM based SoC with Gigabit Ethernet connectivity and on-board PCIe I hope to create a powerful enough NAS for home use, while keeping power consumption (and noise!) under control. This obviously also depends on using a couple (4!) SSD drives instead of mechanical disk drives, which would have been used in this device in its days, but we come to that later.
I may keep the existing power supply and three out of the seven fans, but I’ll have to keep an eye on the temperature once it’s all assembled and running. At this stage I am thinking of installing openmediavault, but before I get to that point I still have a few things to do.
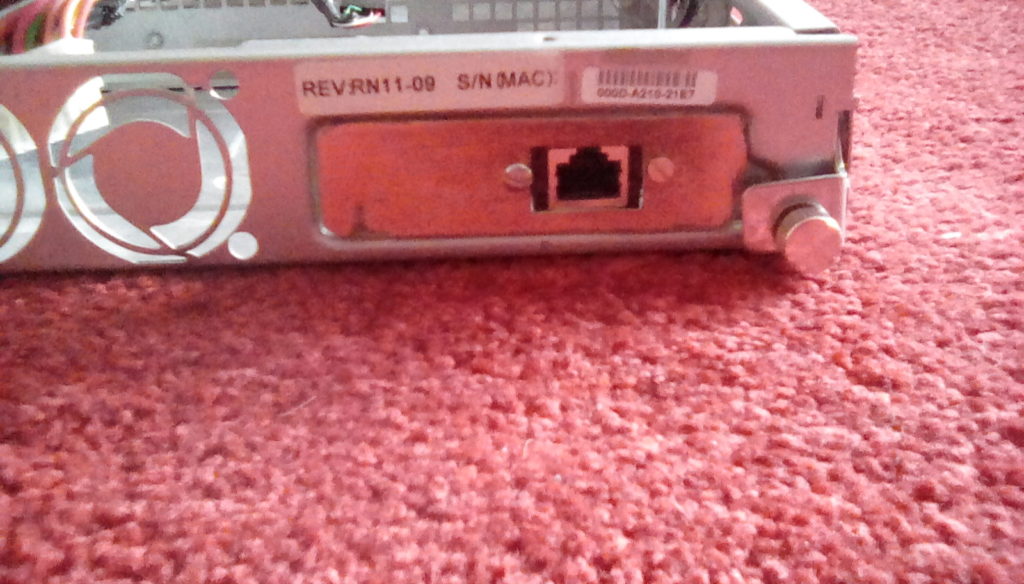
In the meantime, I have fitted a short Ethernet extension and custom backplate since the ROCKPro64’s network and USB ports will obviously not align with the existing openings in the back of the enclosure.